

I am creating a series of blog posts that collectively are designed to help anyone preparing for the Microsoft Dynamics 365 Customer Engagement Core exam. (aka MB-200) In this post I will look at concepts around field security.
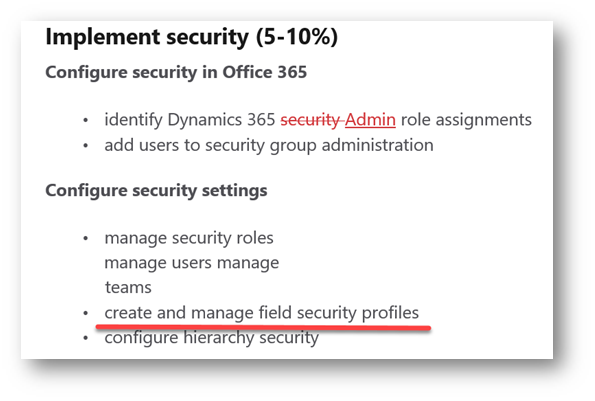
There is a section of the MB-200 exam which has a focus on implementing security, you can see below that managing field security profiles is mentioned in the configure security settings section.
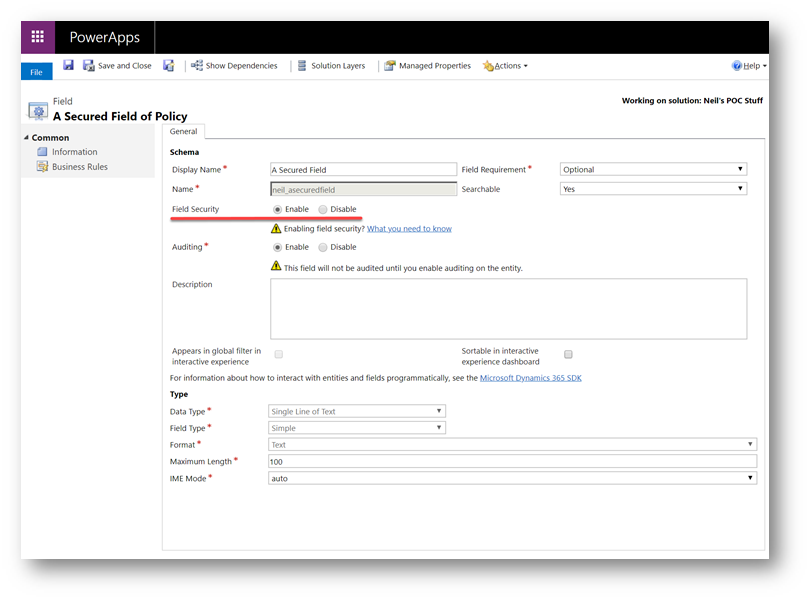
Field-level security can be applied to system and custom fields across the system. And by default is disabled for all fields. To enable field security on any field you open it in customizations and change the “Field Security” option to enabled.
Note: I have shown setting this field in the classic version of field customizations because at the time of creating this post the field security property could not be set in the newer customization interface.
Having created my field I added it to a form and published my change. Once published a key will show next to the field to highlight that it is subject to field security. (As shown below.) At this point only the system administrator can see and maintain the details in this field.
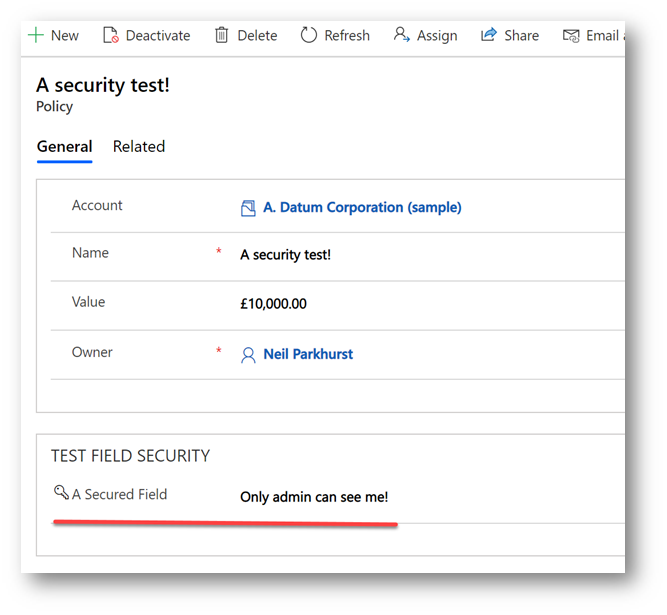
If any user, other than the system administrator, looks at the form they will see “******” in place of the data. (As shown below.)
Note: Below I have logged in as a user that has full organization level access on the entity but it not a system administrator.

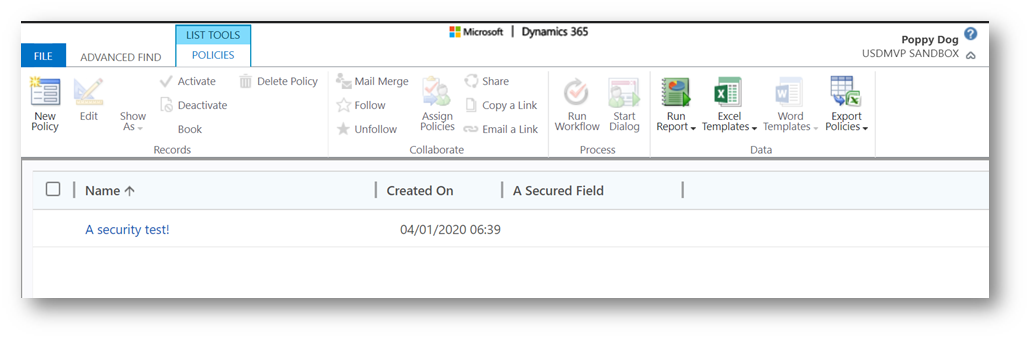
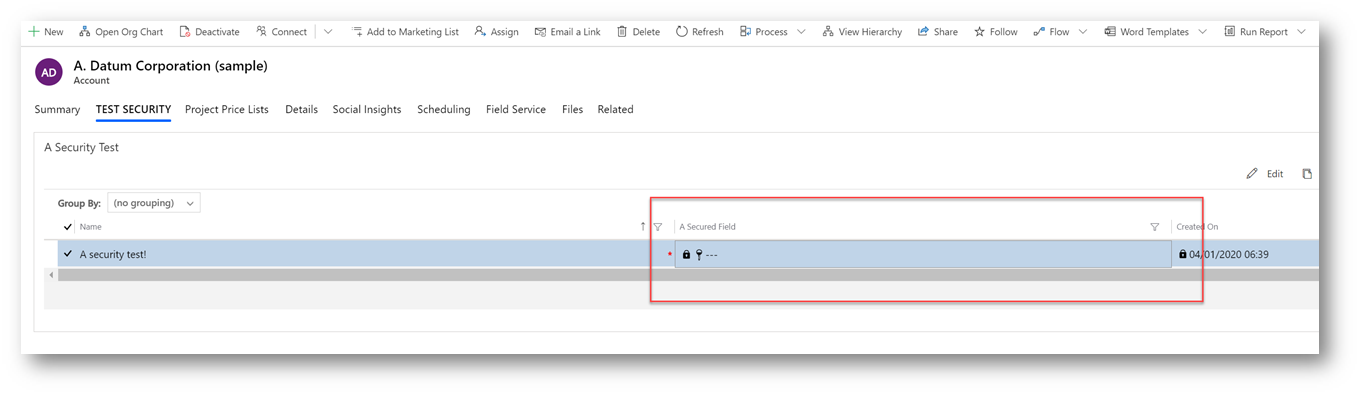
It is important to realize that field-level security does not apply to just Dynamics 365 forms but everywhere you might see or maintain data. For example, below I have shown a view containing my “Secure Field”. Notice that it is blank, this isn’t because the field contains no data! It is because the current user does not have read privilege on this field.
Below you can see that field security even applies on editable grids ….
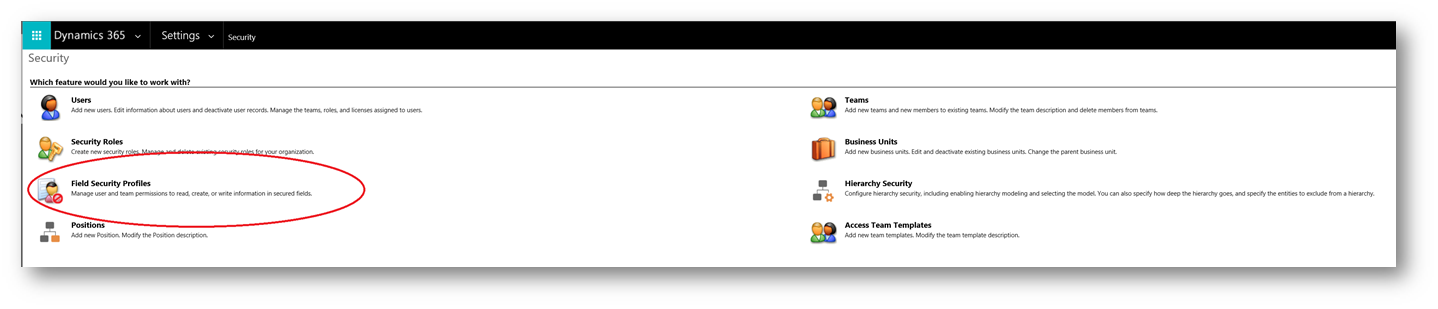
To grant access to fields which are enabled for field-level security you need to create a field security profile. This is done from the “Field Security Profiles” option which can be found in the security area of advanced settings.
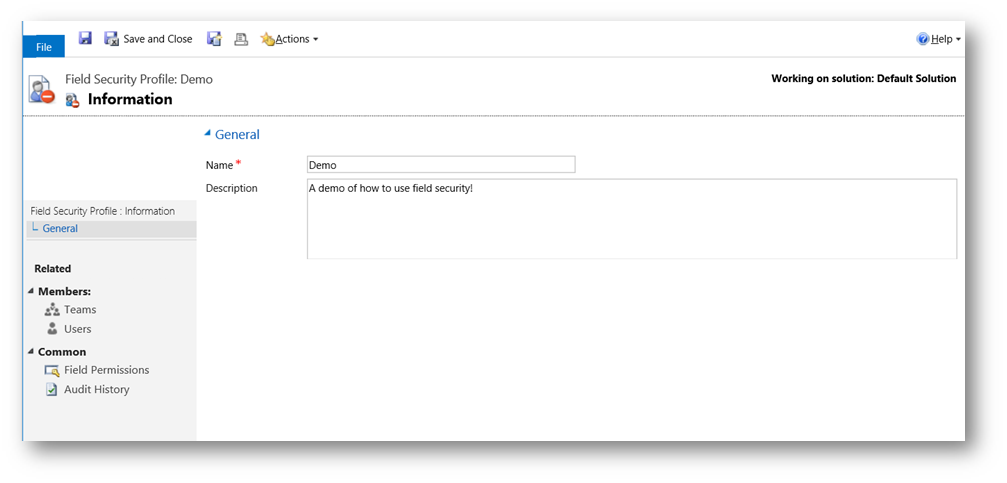
When creating a field security profile you first give the profile a name and optionally a description.
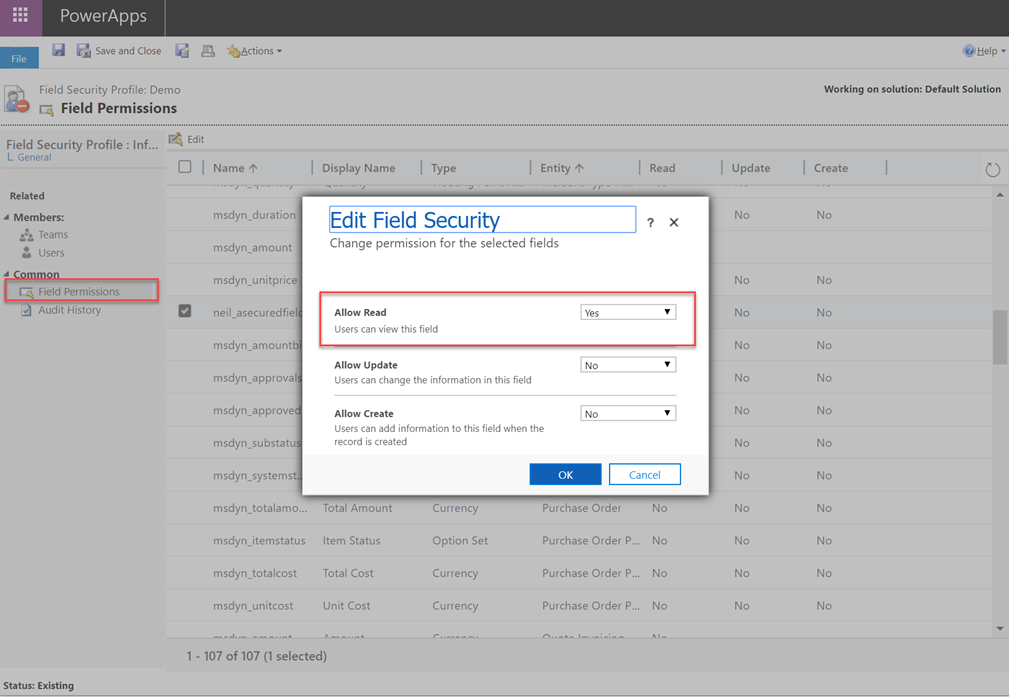
Once you have saved the profile you can use the “Field Permissions” option to add whatever level of access is required. You can see below that I have granted read access on my field. But I haven’t granted update or create access.
Tip: Having just create access might be useful if you want someone to set-up a field when a record is created but then not change it afterwards.
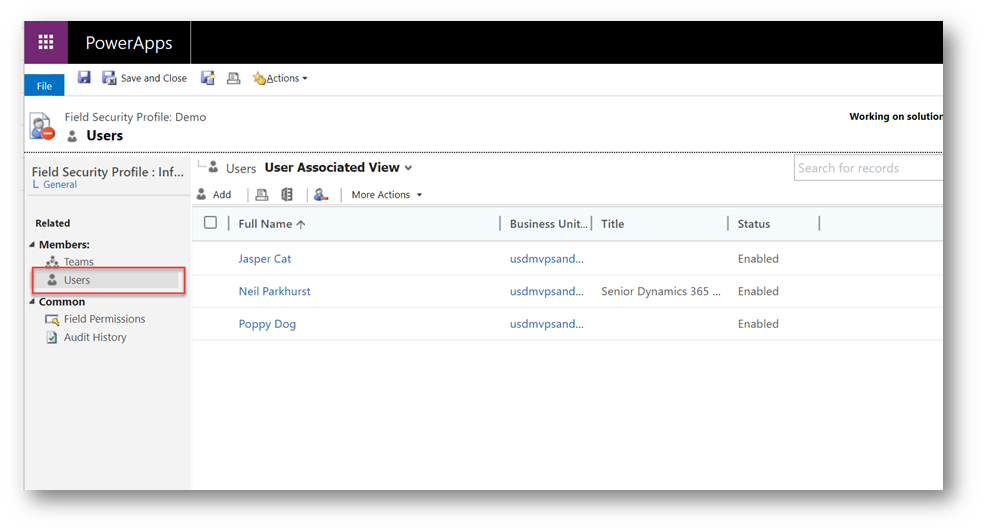
Having created the desired field permissions, you can then assign users or teams to the profile. Below you can see I have assigned this profile to one user.
Tip: A real world scenario assigning teams to the profile might be the best option. As user teams helps to keep administration to a minimum.
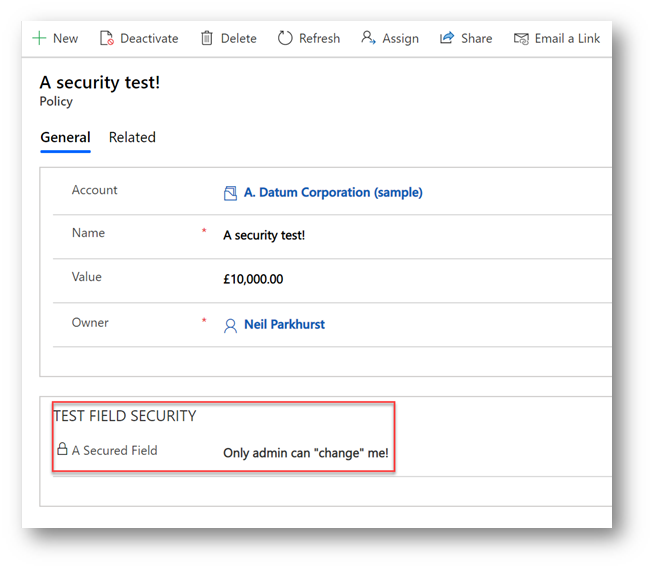
Below you can see that after granting read only access the content of the secure field is now visible but the lock icon next to the signifies that it cannot be changed.
As always, I suggest your exam preparation involves plenty of hands-on time. So try creating some field security profiles to see how they operate. Doing so will also give you a chance to practice creating fields and maintaining forms. So a fun exercise!!
I hope this post has given anyone preparing for the MB-200 exam the basic information they will need to understand on field-level security.


Leave a comment